The Power of ProPhoto RGB
We have seen that a Color Profile is the “medium” we need to manipulate the color spectrum of an image.
When a digital image has a color profile assigned, it's contained within the same file.
If we are working in Photoshop, it will inform us about the color profile of an image when we open it.
2. Checking the Assigned Color Profile

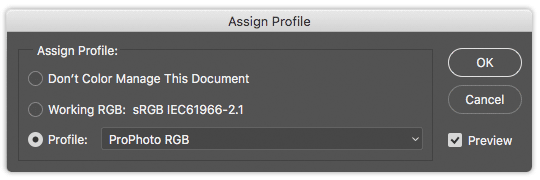
Once an image have been opened, you can easily check what is the its assigned color profile, by following this path:
Edit > Assign Profile…
The color profile that appears next to Working RGB is the one assigned to the image. Typically what we'll found here is the sRGB profile, specially in images downloaded from the internet.
3. Choosing ProPhoto RGB

ProPhoto RGB color profile is, as its name suggests, the ideal profile for working with photos in a professional environment.
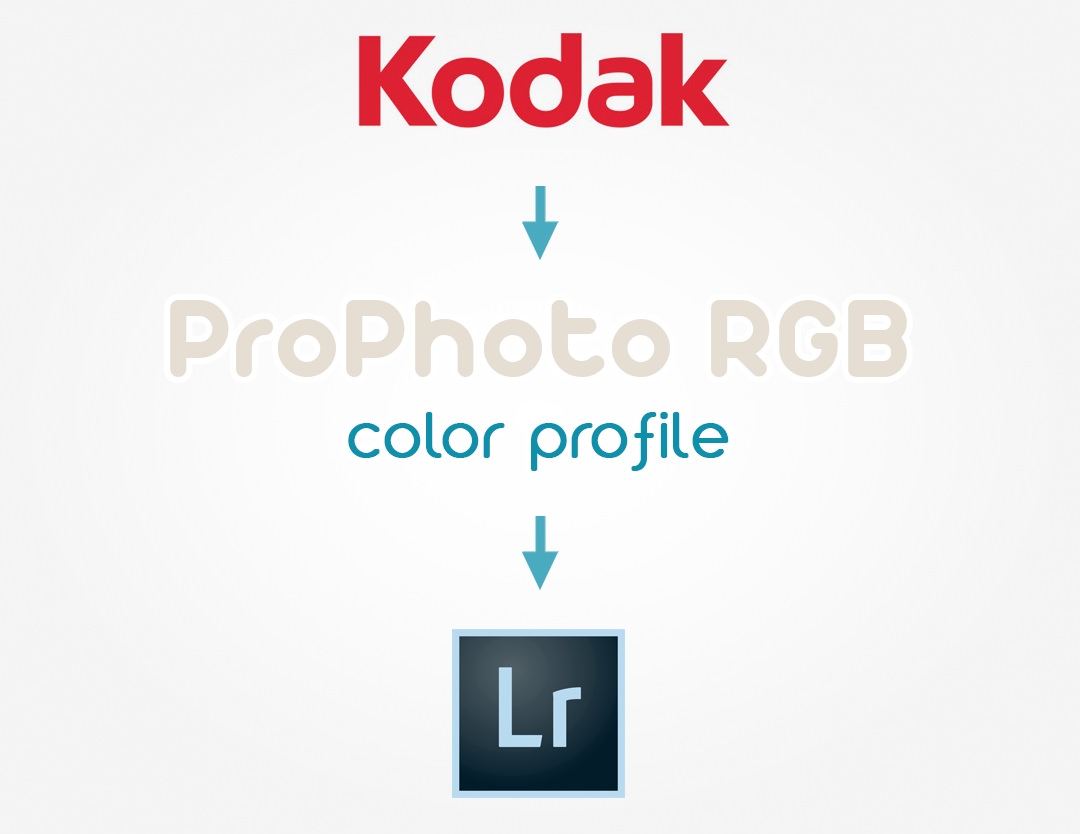
Also know as ROMM RGB (Reference Output Medium Metric), it was developed by Kodak in 2000. It's the color profile which encompasses the biggest color spectrum, actually 90% of the visible light.
You should know that it is the main color profile used in Adobe Lightroom.
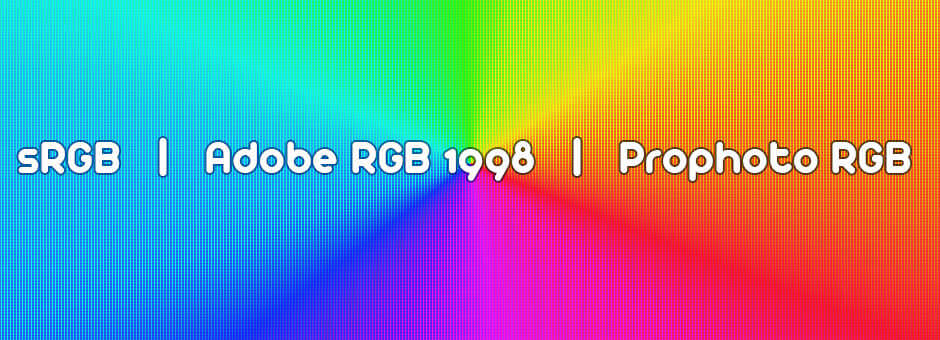
In conclusion we will say that it provides us with the wider range of colors possible today, so the color management of the file will be more accurate than working with any other color profile.
To develop a project like our film emulations, based on references of the real world, ProPhoto RGB becomes the mandatory profile to perform it.
Anyway, we want to clarify that you should not worry about understanding the color profiles to use our product, since our actions will make the conversion to ProPhoto RGB and back to sRGB automatically.
We just decided to include a quick explanation about Color Profiles and a deeper one about ProPhoto RGB for those like you who
really love the true film emulation and want to know a little bit more just for curiosity.


